1. Prerequisites

3. MS SQL Server Express 2019
4. 7zip
2. Connect to your online environment.
1. To install Power platform extension, go to Extensions menu>Manage extensions and choose the Power Platform Tools and download. Close the Visual studio and install the Extension.
- In the Tools menu, select Connect to Dataverse or Download FinOps assets. The former only downloads assets if not already downloaded once while the latter will download even if you had downloaded earlier.
- Select the Show advanced option Login. Choose not to use the signed-in user if you need to use another account with a Visual Studio license. Enter the credentials as necessary to match your development user account.


3. Download and install the finance and operations extension and metadata.

2. Configure settings using the Visual Studio
setting Tools > Options > Power Platform Tools.


4. Extract system metadata.
C:\Users\<User>\AppData\Local\Microsoft\Dynamics365\<ApplicationVersion>Three
files are downloaded and described below.

a) System metadata is downloaded as PackagesLocalDirectory.zip.
b) Backup of the cross-reference
database as DYNAMICSXREFDB.bak
Unblock any of the three files that needs unblocking.
2. Create a new folder “AOSService” in C:\ and unpack
the PackagesLocalDirectory.zip file as PackagesLocalDirectory by using
the 7zip utility.
3. 3. Create a new sub folder “Custom” under
C:\AOSService

5. Configure the finance and operations extension.
- Navigate to Extensions > Dynamics
365 > Configure Metadata for the first time.
If you do not see the Configure Metadata option, open Extensions > Dynamics 365 > Infolog and retry.
- On the configuration form, select New and
then create a new configuration as below.

Select the Current check box to make the
configuration active.
1.
Connect to the VSTS and map the C:\AOSService\Custom
folder to Dev Branch as below.

- Select Save. Once the updates are saved the below message will
be displayed.

5. Once
the configuration completes, navigate to View > Application
Explorer. You should see the Application Explorer window
open. You may have to restart Visual Studio first.
6. Install ISV licenses.
1. Create new folder “__License” in the model where the licenses to be installed and then deploy the models to online environment.
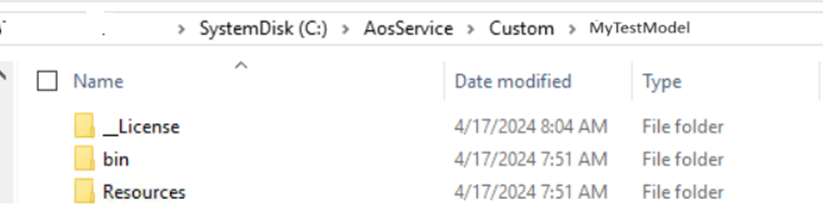
Place the license files under the __License folder
For this operation, use the Extension > Dynamics 365 > Deploy > Deploy Models to Online Environment menu item. The dialog that appears allows you to select the packages to deploy. In this case, you need to select "MyTestModel."
2. Once the deployment is done perform
the full build from Extension > Dynamics 365 >Synchronize
database

Once the sync is successful then the ISV licenses will be enabled in cloud environment
7. Common issues
1.
Label ids are being
displayed instead of labels.
The label Id’s are being displayed instead
of labels like @XXX1234.
To fix this problem, build the models along with the “Deploy to cloud online environment” option as below.

To fix this problem, disable the below check box from Toos>Options and Connect to Dataverse sandbox again
